Sous vide cooking has gained popularity for its precision and ability to deliver perfectly cooked meals. For perfectly tender and juicy meats, few food preparation methods compare to sous vide. This method is ideal for preparing meats and seafood, as it often proves to be a more effective means of ensuring that your dishes are done. If you’ve recently invested in a vacuum sealer and want to know how to use it for sous vide cooking, this guide will walk you through the process from start to finish.
How to Use a Vacuum Sealer for Sous Vide
What You Need:
- Vacuum Sealer – A reliable vacuum sealer, such as the Ciarra Portable Wireless
-
Vacuum Sealer, with different sealing modes will make the process easier and more efficient.
- Sous Vide Machine – A circulator or immersion heater to maintain a constant water temperature.
- Sous Vide Bags or Special Vacuum Bags – These bags are designed to withstand the sous vide process.
- Food – The main ingredient you’ll be cooking, whether it’s meat, fish, vegetables, or other items.
Step 1: Prepare Your Ingredients
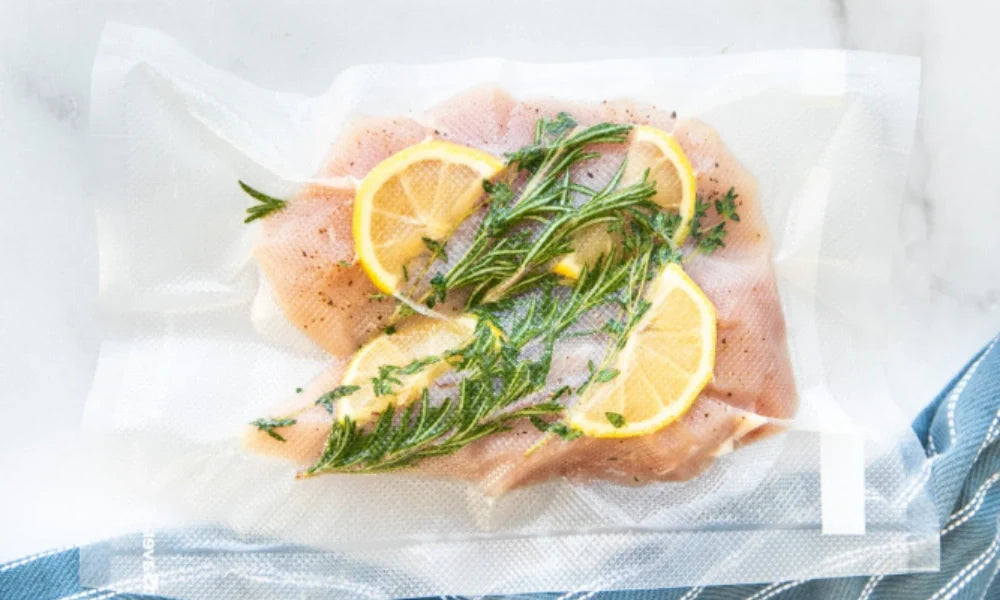
Start by seasoning or marinating your food before sealing it. For meat, this might involve adding salt, pepper, herbs, or a marinade. If you’re cooking vegetables, you can add a bit of oil or seasonings to enhance the flavor.
Step 2: Choose the Right Vacuum Sealer Bag
To achieve optimal vacuum sealing, make sure to use bags specifically designed for sous vide cooking. These are typically made from food-grade, BPA-free plastic, which is safe for use at high temperatures.
Step 3: Set Up Your Vacuum Sealer
Using your vacuum sealer, place the open end of the bag into the machine’s vacuum chamber. For example, the Ciarra Vacuum Sealer has several modes, such as vacuum & seal mode, sealing mode, and external vacuum mode. For sous vide, you’ll use the vacuum & seal mode, which will remove the air from the bag and then seal it tightly.
Step 4: Heat Your Water Bath
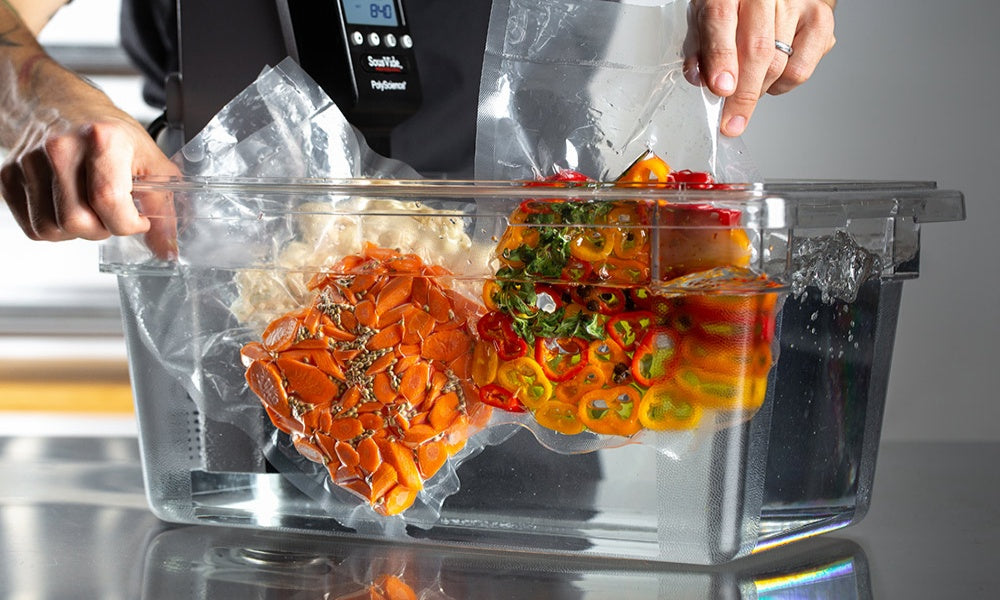
Submerge it in a water bath for a predetermined amount of time, or until it has reached a set temperature. For example, chicken breasts are typically cooked at 140°F (60°C), while steak might be cooked at 130°F (54°C) for medium-rare. Since sous vide is a slow cooking method, the cooking times will vary depending on the type of food. Here’s a quick guide for some common sous vide cooking times and temperatures:
- Chicken breasts: 1 to 2 hours at 140°F (60°C)
- Beef steak (medium-rare): 1 to 2 hours at 130°F (54°C)
- Salmon fillets: 45 minutes to 1 hour at 130°F (54°C)
- Vegetables: 30 minutes to 1 hour at 185°F (85°C)

Step 5: Finish and Serve
Once your food is cooked, carefully remove it from the water bath. You’ll notice that the food will look perfectly cooked through, tender, and juicy. If you’re cooking meat, you may want to give it a quick sear in a hot pan or on a grill to create a crispy crust.
To finish, remove the food from the bag, plate it, and serve. The flavors will be incredible due to the vacuum-sealed environment where all the juices and seasonings are trapped.
The Importance of Vacuum Sealing
Sealing food in sous vide essentially creates an airtight environment around the food, which is crucial for the sous vide cooking process. Here’s why sealing is important:
1. Keeping the Flavors In
By sealing the food in a vacuum bag, you ensure that no water can enter the bag during the cooking process. This prevents the food from becoming soggy and allows it to cook in its own juices, enhancing flavor and texture.
2. Air Transmits Heat Poorly
Air is a really poor transmitter of heat compared to water (you can stick your hand in a 400°F (200°C) oven for a few seconds but sticking it in much cooler boiling water will scald you almost instantly). So removing all the air from the sous vide pouch will result in a faster and more evenly cooked food.
3. Flavor Infusion
Sealing helps lock in flavors and marinades. The vacuum sealing process draws the air out of the bag, allowing the flavors from spices, herbs, or marinades to better penetrate the food, which enhances taste.
4. Preventing Bags From Floating
Bags with air in them float, leaving parts of the food out of the water and potentially at dangerous temperatures. The more air you pull out, the less chance of floating you will have.
5. Preservation of Nutrients
Because the food is sealed and cooked in its juices, it retains more nutrients, vitamins, and minerals compared to traditional cooking methods where some of these can be lost in the cooking process.
Is there Anything You Shouldn't Vacuum Seal?
Yes, there are a few things you shouldn’t vacuum seal, either because it could negatively impact the food or the bag itself. Here are some key ones to avoid:
-
1. Liquids: Vacuum sealing liquids (like soups, sauces, or stews) is tricky because the vacuum process can suck the liquid out of the bag and damage the vacuum sealer.
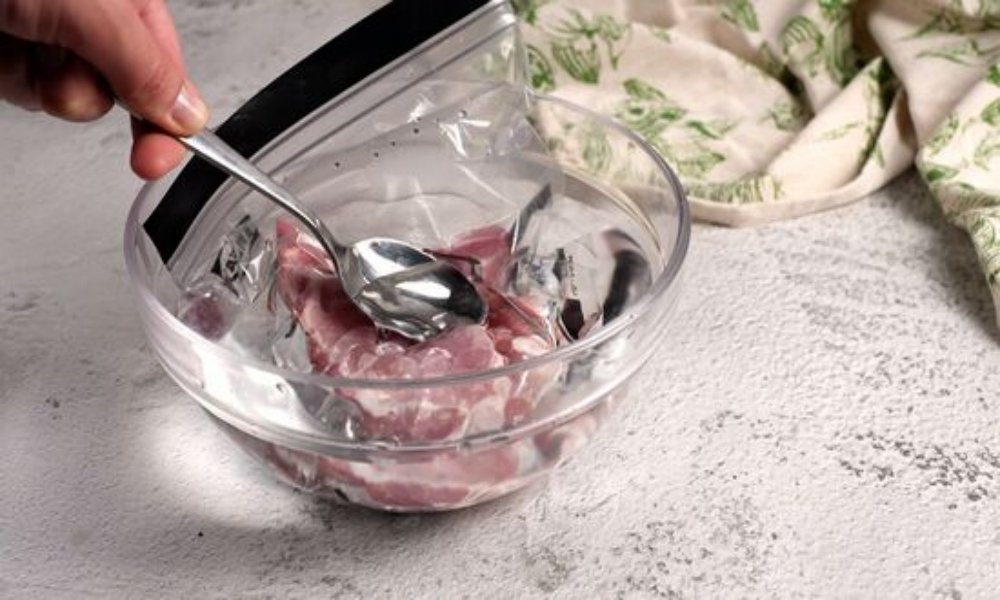
If you want to vacuum seal liquids, freeze the liquid first into a solid block (in a tray or bowl), then vacuum seal. This prevents liquid from being sucked out during the process.
-
2. Soft Fruits and Vegetables: Soft or delicate fruits and vegetables like berries, tomatoes, or peaches can get crushed when vacuum-sealed. The pressure of the vacuum can damage their texture and cause them to become mushy.
-
3. Foods with High Water Content (Like Watermelon or Cucumbers): Foods with high water content can also become mushy or lose their structure when vacuum-sealed. The high moisture levels may cause the bag to leak or break over time.
-
4. Garlic and Onion (Whole or Chopped): Garlic and onion, when vacuum-sealed, can release a sulfurous odor as they age, which could permeate the bag. In extreme cases, it could lead to the growth of botulism bacteria due to the anaerobic environment created.
-
5. Raw Mushrooms: Raw mushrooms can release moisture over time, which could cause them to break down or develop an off texture when sealed.
-
6. Bones or Sharp Objects: Bones (especially in meat) or other sharp objects can puncture the vacuum-seal bag, compromising the airtight seal and potentially making the bag leak or tear.
- 7. Raw Eggs in the Shell: Vacuum-sealing raw eggs in their shell is a bad idea because the pressure can crack the shell and cause a mess. The eggs also need air for proper storage.
In general, anything that’s extremely fragile, liquid-based, or likely to develop bacteria in an oxygen-free environment shouldn’t be vacuum-sealed unless prepared properly. Always check the specific recommendations for your vacuum sealer model to ensure safe and efficient use!
Tips and Tricks for Optimal Sealing of All Foods
Choose quality vacuum-seal bags, and make sure they’re appropriate for the food type (thick bags for sharp items, thin ones for soft foods).
Allow ample room at the top of the pouch; do not overfill, especially for large or bulky items.
Freeze liquids or soft items (like berries) before sealing to avoid spills or crushing.
After sealing, store food in the right environment—frozen for frozen goods, or in a cool, dry place for pantry items.
Ciarra Gadets Vacuum Sealer
Food type – DRY for most foods, MOIST for juicier foods.
Close the lid and press down firmly with both palms until the lid lock ‘clicks; thevacuum should begins automatically.

These simple steps will help you get the best results every time!
Related: How to Use Vacuum Sealer Step by Step
Tips and Tricks for Sealing Juicy Foods
Always use the Moist setting when sealing juicy foods for a stronger seal. Keep an eye on the pouch as it collapses around the food—when the liquid starts rising, press "Seal Only" to seal the bag before moisture reaches the chamber. If liquid spills into the chamber, quickly absorb it with paper towels, then clean the well with mild soapy water and dry it completely before using or storing.

Tips for Sealing Liquids
Do not attempt to seal liquids or liquid-rich foods using the Ciarra Vacuum Sealer, as it could damage the machine or compromise the seal. For liquids, freeze them first into a solid block before sealing. Alternatively, use a vacuum canister designed for liquids to maintain a proper seal without risk. Always follow your vacuum sealer's guidelines for safe and effective use.

Conclusion
Using a vacuum sealer for sous vide cooking opens up a world of possibilities for preparing perfectly cooked meals with minimal effort. By following the steps above, you’ll ensure that your food is sealed properly, cooking evenly, and retaining all its delicious flavors. Whether you're a beginner or an experienced sous vide enthusiast, a vacuum sealer is an essential tool in creating top-notch sous vide dishes every time.
Ready to try it out? Grab your vacuum sealer, prep your ingredients, and get cooking!


Commenta
Nota che i commenti devono essere approvati prima di essere pubblicati.
Questo sito è protetto da hCaptcha e applica le Norme sulla privacy e i Termini di servizio di hCaptcha.